Microsoft recently updated its photo tools on Excel for iOS and Android so that you can turn photos of sheets of paper with tables, lists, recipes, and notes into editable spreadsheets.
How does it work? When you use the Insert Data from Picture tool in Excel for Android or Excel for iOS, you can take a photo of a sheet of paper containing rows and columns the app will convert it into an editable spreadsheet.
The conversion tool sends the image to Microsoft’s online image-recognition engine for the feature to work — which digitally converts words and numbers. Once the content is imported, you can make any necessary fixes since the technology is not perfected yet.
The Insert Data from Picture tool works in 21 languages including Spanish, French, and German. And more will be added soon.
Here is a step-by-step overview of how to convert photos into Excel table data
1.) Open the Excel app and tap on the “New” button at the top of the app
2.) Either select a blank workbook or a template
3.) From the bottom of the app, tap on “Data from Picture” button —which is an icon of a 3×3 grid with a camera
4.) Tap on “Allow” to give Microsoft permission for converting your image to data
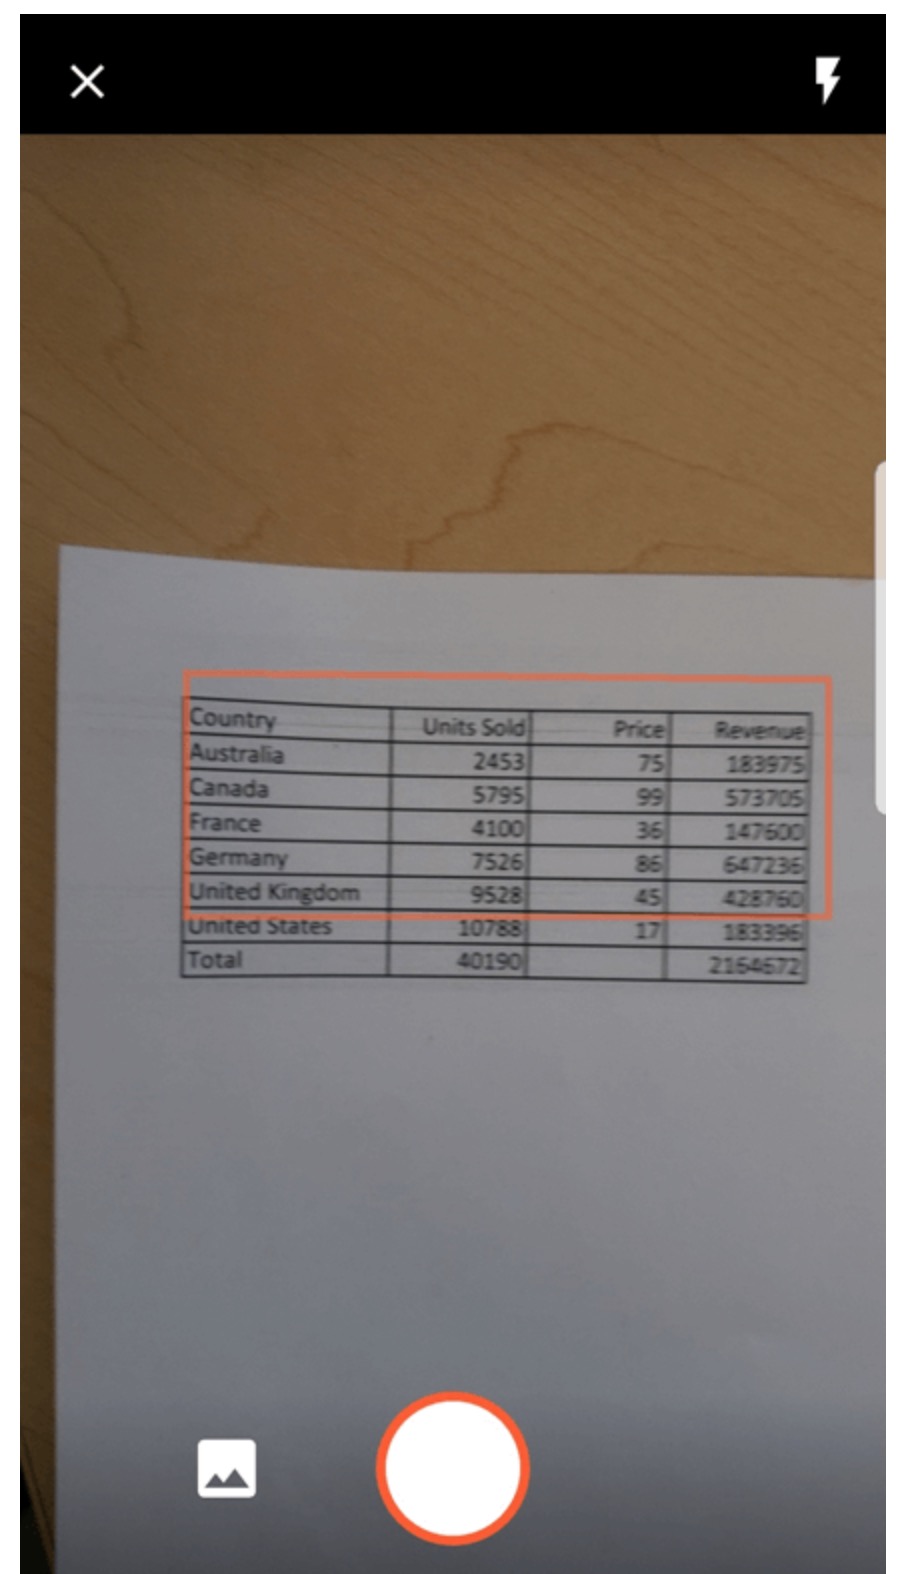
5.) Set up the red rectangle around the data on the paper and then take the photo

6.) Once the image is captured properly, then tap on the red check button for converting the data otherwise tap on X to start the process over
7.) To edit the captured data, tap on the red highlighted cells and then tap on “Edit” for entering the missing data. Then tap on Done for each change.
8.) After you are satisfied with the results, tap on “Insert” at the top for placing the data in your spreadsheet